The art of stamping is not new. It has been practiced for centuries, and there are examples on ancient Egyptian tombs.
However, it was the invention of the rubber stamp in 1855 that really revolutionized the craft. And ever since then, people have discovered ways to use stamps creatively in various different crafts.
This article will introduce you to some of those creative ideas, as well as go over some basics about how stamps work and what you need to get started with this fun technique!
What You'll Need
Stamps, ink pad (optional), sharp letter opener, leather.
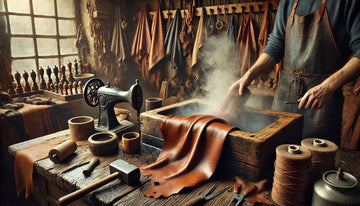
I use vegetable-tanned cowhide for most of my stamping projects. It is high quality, thick enough that it does not tear easily, but thin enough that it's easy to cut or punch through. You can purchase this in different colors and thicknesses at most craft stores. For beginners, I recommend using a 2-3oz thickness.
You will also need an ink pad if you plan on making your stamps more than one color! And finally, an old letter opener or something similar with a smooth blad will be helpful for transferring images onto the leather.
You will also need an ink pad if you plan on making your stamps more than one color! And finally, an old letter opener or something similar with a smooth blad will be helpful for transferring images onto the leather.
What do I use for inking?
Leather inks!!
I love them and they work great for this technique. They come in different colors and are available at most craft stores that carry supplies for working with leather. Often times they can be found right next to the cowhide hides which is convenient :)
If you have trouble finding the exact color of ink you want, don't worry about it so much! You can mix two or more colors together to get the desired shade. There are endless possibilities when it comes to inks and colors!
How Do I Stamp?
Now that you have all of your supplies, it's time to start stamping!
The first thing you'll want to do is cut out your desired design using a sharp letter opener or other sharp objects. If your design is symmetrical, you can fold the leather in half and cut through both pieces at once.
Once you have your design cut out, it's time to get started stamping!
Take your ink pad (if using) and dab some ink onto the image you just cut out.
Be sure to cover the entire surface of the stamp. Too much ink will cause the stamp to bleed and create a muddy-looking image.
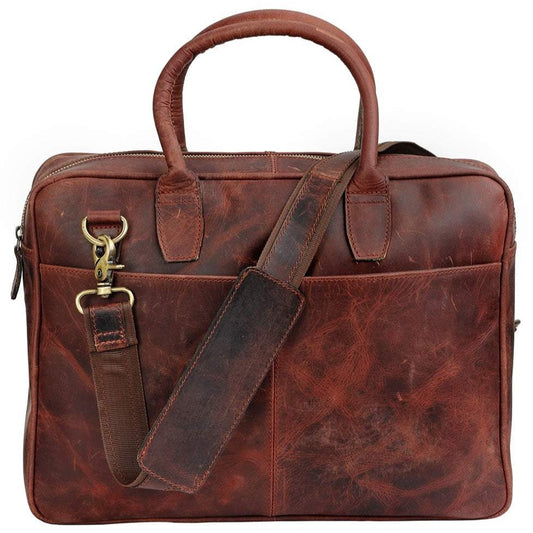
Check: Leather Office Bags
Now, place the stamp onto the leather and give it a good, solid push. You will want to press firmly down and then release quickly. If you hold the stamp down too long, the ink will start to transfer to the leather and you'll end up with a messy image.
Practice makes perfect so don't get discouraged if your first few attempts don't turn out perfectly!
What are Some Tips for Getting Better Results?
Here are a few tips to help you create cleaner, more professional looking stamps:
- Be sure to use a sharp object to cut out your design. This will ensure that your cuts are clean and accurate.
- When inking your stamp, care not to put too much ink on the stamp. This will prevent the ink from transferring to your leather and cause a messy image.
- When applying your stamp, press firmly down and immediately release. Too much pressure or holding the stamp down too long will result is an image with ink bleed through.
- You can use pencils or any other hard object to carve out letters on the back of the leather so that you can see where to place each letter before you go ahead and transfer your image onto the leather bags. This will help keep things symmetrical :)
- Test different types of inks on scrap pieces of leather before committing to using them on one of your projects! Each type of ink is different and some tend to work better than others depending on what look you are going for.
There you have it! The basics of stamping designs into leather. With a little bit of practice, you'll be creating beautiful pieces in no time!
Happy stamping :)

